
Ok, here it is! At long last, my promised tutorial for these cute little crocheted owls I have been making for the last year. I have had lots of requests for this and I know some of you are really excited to get started!
First of all let me tell you that I don't consider myself to be a great crochet teacher. I have tried to go through this project step be step and hopefully even people who have not crocheted before will be able to follow it. However if you are really stuck with the basic Double Crochet (dc) that we'll be using to make this little fella, then below are some links to really good photo or video tutorials. It is also worth having a look at these for things like 'how to hold the hook and wool', which I do not cover, and crocheting left-handed, if that is relevant to you.
http://www.crochetpatterncentral.com/directory/instruction_directory.php
http://www.5min.com/Video/Learn-Basic-Crochet-Stitches-139967098
http://video.about.com/crochet/Single-Crochet.htm
If anybody can recommend any good 'how to crochet' tutorials, then leave a link in the comments and I will transfer them here later.
Meanwhile, I know there will be lots of you reading this who can dc with their eyes shut, so for you, here is the crochet pattern for the owl body and wings. You can then scroll down to the 'making up' bit as you won't need all the crochet tutorial.
N.B. In the USA I think they call a double crochet a 'single crochet' - which actually makes more sense!
Owl Body (make 2)
Make 23 chains
Row 1, (RS) 1 dc in 2nd chain from hook, 1 dc in each chain to end, 1 ch, turn.
Row 2, Crochet 2 dc together, 1 dc in each st to end, 1 ch, turn.
Keep working rows in this way until only 2 stitches left, 2 dc together, fasten off.
Wings (make 2)
Wind yarn around finger to form a ring. 1 chain, 11 dc into the ring, pull end to close ring, ss in 1st ch.
Round 1, 1ch, 1 dc in same place as ss, 2 dc in each st to end, ss in first chain, fasten off.

Right, now lets get all our ingredients together. You will need:
Odd and ends or even just one ball of DK wool (yarn). I like to use variegated wool for my owl body (because it's more fun and interesting to use) and a different colour for the wings, neither takes up very much wool so it is a great way to use up scraps.
3.5mm crochet hook (Canada size 9, USA size E or 4)
Scraps of felt. I like to use white for the eyes and a nice bright colour for the owl bottom.
Toy stuffing/filling
2 small buttons for owl eyes
Needle, thread, scissors and a darning needle big enough to thread your wool with.
Ok, let's begin!
Owl Body

I am using this variegated wool for my owl body today, it is left over from the gloves I made my sister for Christmas.

First, make a slip knot. Make a loop in the wool, insert the hook, and catch the back strand of the wool.

Pull a loop through, then gently pull on both ends to tighten the knot and close the loop on the hook.

Wind your wool around the hook as shown, with the hook going behind and to the left of the wool, and draw a new loop through the loop on the hook to make a new chain loop, this counts as your fist chain.

Keep making chains. They are easy and fun to do!

Make 23 chains in total.

Now you are going to double crochet (dc) in to the chain. This is where my photography really isn't so helpful, but I will try and explain a dc as best I can and please refer to the links discussed above for more help. So, as if going back in the direction you just came, put your hook into (a loop from) the second chain from the end (so no 22 chain). It will now look like you have 2 loops round your hook.

Wool round hook as you did when first making a chain, but the hook should go in the opposite direction this time, behind but to the right of the wool, and pull this through the first loop on your hook. Wind the wool round the hook again but back to the first way (behind and to the left of your wool), and pull through both remaining loops. That is your dc!

Now make one of these dc's in every chain till you get to the end of the row. This is probably the toughest row to do as there is not much to hang on to as you work so it makes it feel fiddly. Once your work grows it becomes much easier to handle.

At the end of the row make one extra chain, and turn your crochet to start again at the beginning of a row.

Now we are going to crochet 2 dc together to decrease your stitches (and therefore form a triangular shape eventually). So, as before, hook in to your first stitch (the first dc from the row before), wool round hook and pull through.

Instead of winding wool round hook again, just take your hook into the next stitch first and then wind wool round hook and pull through.

You now have 3 loops on your hook, wind wool round hook once more and pull this through all 3 loops. Now because I, very stupidly, chose a wool to demonstrate with that is practically the same colour as the hook (duh!), I am now going to show you that again, now I have crocheted a few rows and moved on to a different colour of wool.

So here is the beginning of the row, with your extra chain already done.

Insert hook in to first stitch and wind wool round hook

pull through

insert hook in to next stitch along and wind wool round hook again
pull through again

wind wool round hook again and pull through all 3 loops.

This will give you a sort of 'fat' dc. Next, dc in every stitch till the end of the row, 1 chain, turn and begin the next row with the same 2 dc together.

Each row is the same. Keep crocheting and it should become triangular as above.

Keep going until you have only 2 stitches left. 2 dc together.

You will have only one loop left on your hook and no stitches to put your hook in to.

Cut your wool about 30cm (18") from your finished crochet and wind the wool round your hook one final time and pull the wool through all the way.

This is called 'fastening off'. Here is your finished owl body. Now make another exactly the same.

Owl Wings

Make a ring with your wool and pull a loop of wool from behind with your hook.

like this.

Hold on to half the ring so it doesn't unravel, and insert the hook into the ring, wool round hook and pull through the ring, wool round hook and pull through to make chain.

Next dc in to the ring (in the same way as you just made a chain). Make 11 dc's in to the ring (which will be 12 stitches including the first chain.

Pull the end of the wool tight to tighten the ring.

slip stitch (ss) into the first chain. A slip stitch is a joining stitch.

Slip stitch: Insert your needle into the first chain, wool round hook and pull through both the chain and the loop on the hook, so you only have 1 loop left on the hook.

Make a chain

Then dc into same place as ss.

2 dc into next stitch, and each following stitch all the way round.

ss into first chain

And fasten off leaving a small tail of wool.


Making up


A few points here:
some of you may want to pin your sides together first, please feel free. I rarely pin anything, because I am naughty and lazy and prefer to just 'hold things together with my hands'.
Also I have developed a rather fiddly way of sewing the sides together so that I use the colour of the front of the beak to sew the beak part of the sides, this always looks better to me when turned right side out, but it is also fine to just thread with new wool of any colour and start at a bottom edge and sew up to the point and back down the other side.


The orange part of the beak is a little deceptive here (and always a slight downside of using variegated wool), as the beak would normal cover a third to a half of the whole body, so that is how much I would usually sew with the beak coloured wool.


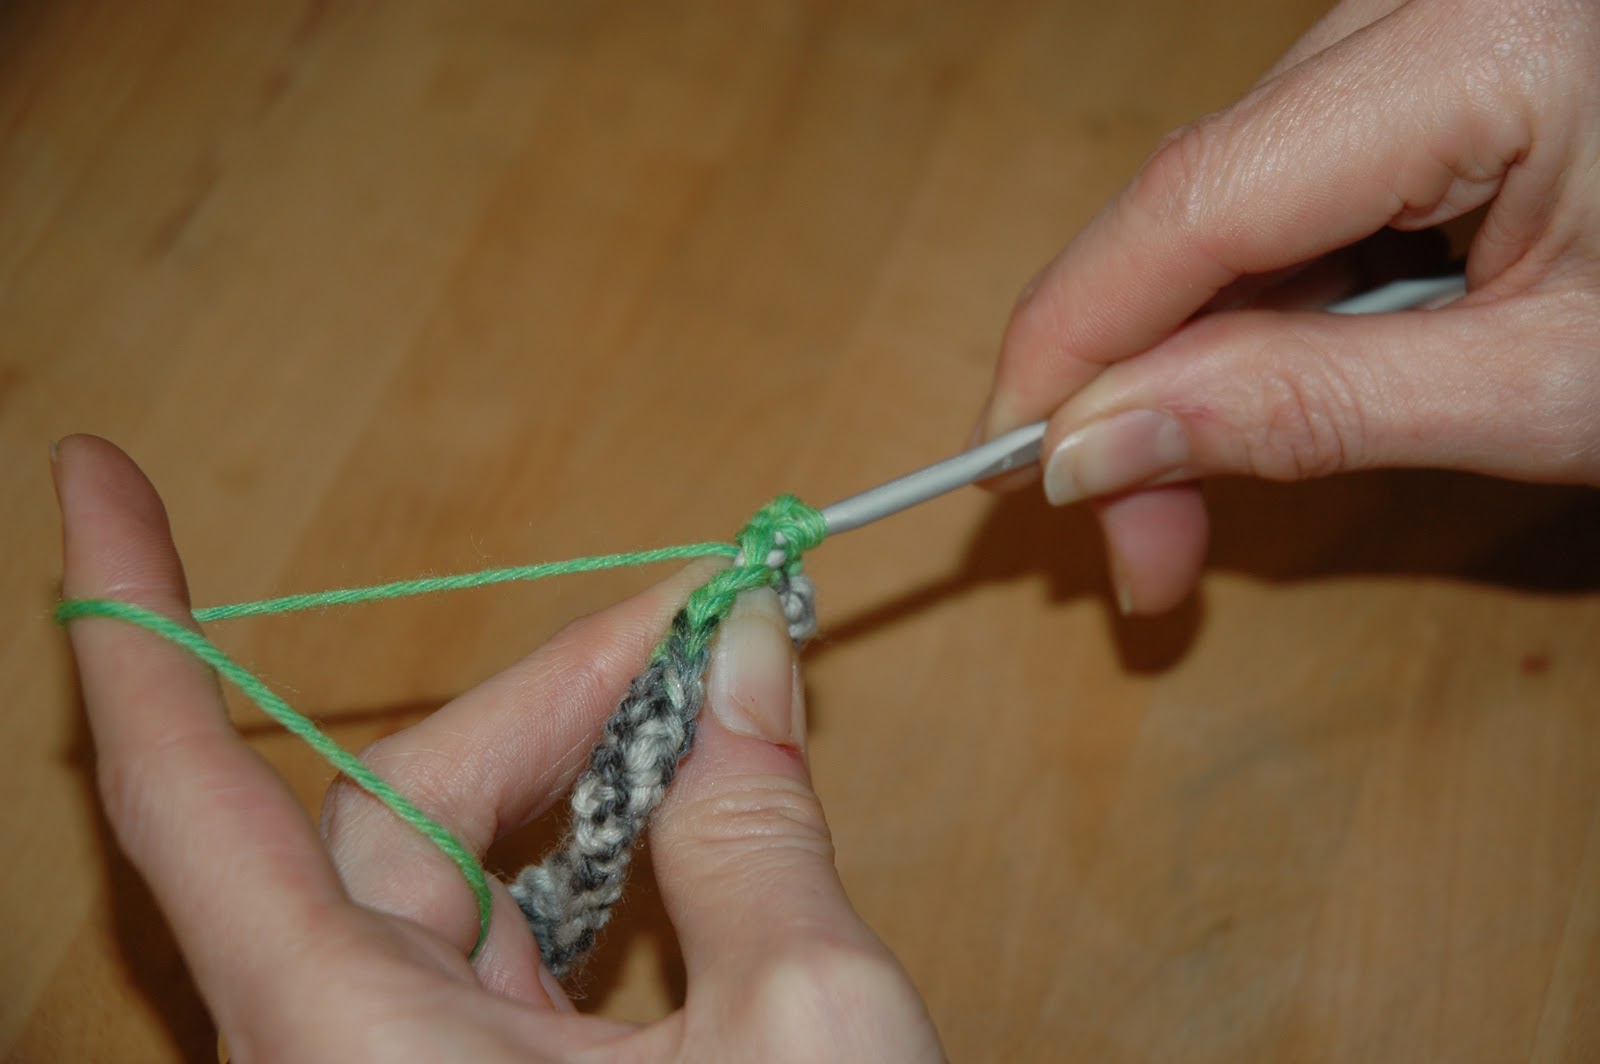
Add some more stuffing through the opening you have left to 'top him up' and make him cuddly. But don't stuff him so full that he 'rocks' on his bottom like a Weeble!

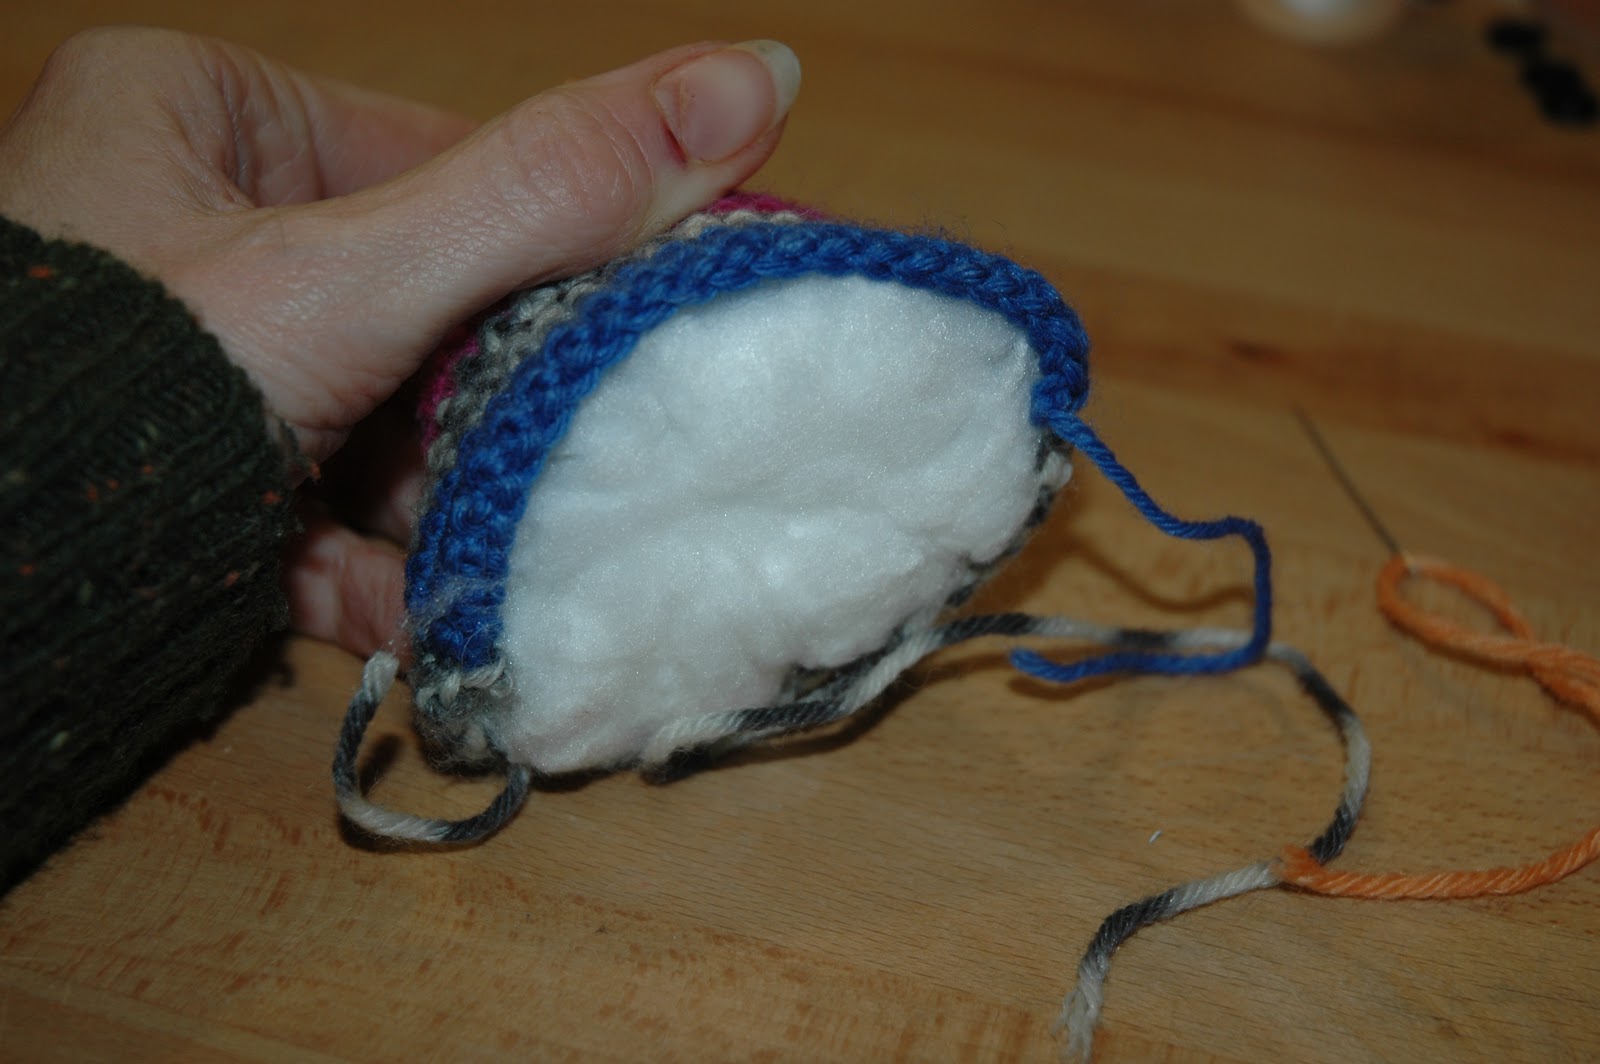
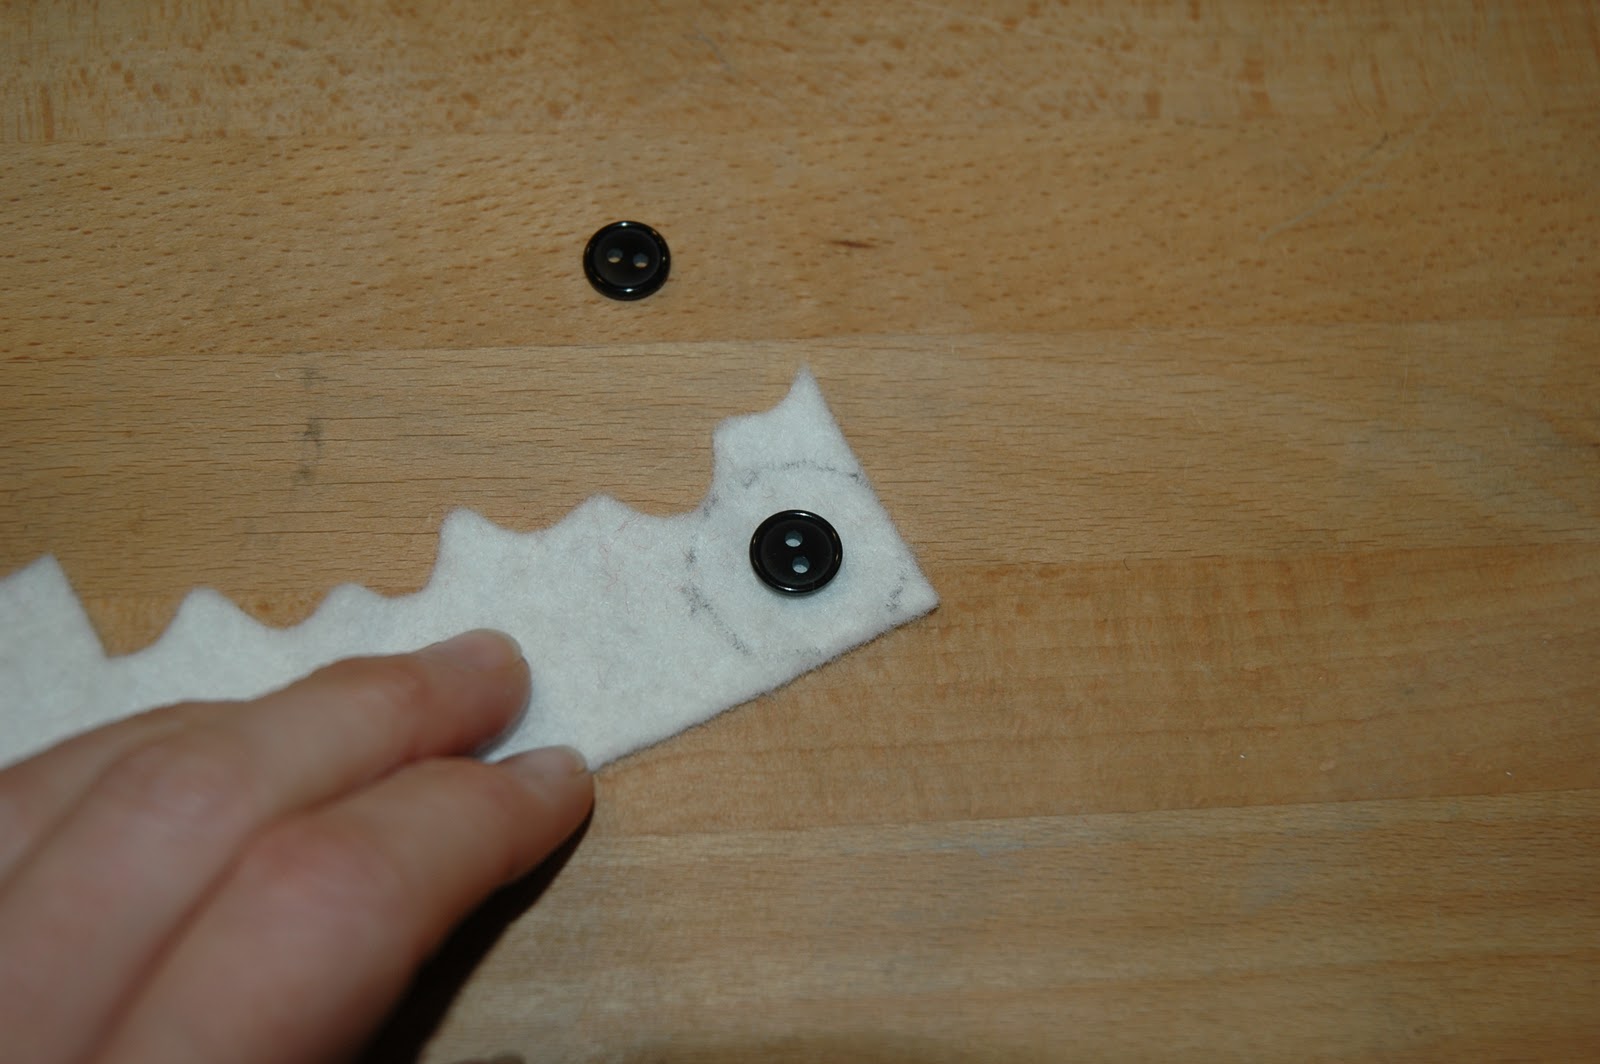
Now for the eyes. I used to crochet the 'outer eye' but changed it to a felt circle to speed production up a bit. If you would like to have a go at crocheting this, then just crochet a circle like the wings but stop after your first round of double crochet (into the ring), ss into the first chain and fasten off.


Wow, looks like we are nearly finished!
Here he is all ready to go!

Give us a twirl, little guy...

Yep, you're gorgeous!

Well I do hope you have enjoyed this little Tute. I am very happy for you to use these patterns and instructions to make lots of nice owls for swaps and gifts, but please, don't use them for commercial purposes. And please always give me a credit and a link back to this blog page if possible.
If you have any suggestions for improving this tutorial they would be very welcome. Or if there is anything you just don't understand, please let me know so I can try to improve it.
One more thing, I feel bad that this little owl doesn't have a name. Mini Crocheted Owl, just sounds a bit awkward, so can any of you come up with a sutiable name for this project?
If you can and I pick your name for the owl, I will send you a little owl as a prize!! Just leave your suggestions in a comment.
Please let me know if you use this tute. I would love to see photos, and if we get quite a few I will start a Flickr group for them!
WhoooHOooo...I put this in my favorites and will give it a go once I finish with the ORBC Round 9!! I went digging through my collection of crochet hooks (I have no idea why I have a collection since all I know how to do is crochet a straight line!:) I actually HAVE that size!! And some proper size wool as my sis-in-law cleaned out her bits and bobs and gave them to me!
ReplyDeleteHow about Yarny the Owlet or Woolie the Owlet?:)
ditto @ Jennifer - but I'm going to try knit me one of these LOL - I LOVE your owls!
ReplyDeleteHmmmm 'thinks to self' when I'm in Europe next year I'm going to get me a bear paw owl!
Crikey love, that must have taken you ages! Great tutorial though.
ReplyDeleteI always think of them as Wee Wols (as in Winnie the pooh)
I hope you are having a great weekend.
x
One day I'll make one of these. But I really need to finish my two hal-complete knitting projects first! It looks like you have done a great job of writing up the tutorial. Thankyou. Juliex
ReplyDeleteWow thanks for another great detailed tutorial Jo! I think if my youngest daughter saw these owls she would want one for sure. One day I will make one... Not to good on names but Ollie comes to mind for this little fellow.
ReplyDeleteI name them Mali - translated from Croatian Mali means, small, undersized, little, scant, shorty, slight etc etc etc - therefore Mali Owl
ReplyDeleteYour owls are super cute!!
ReplyDeleteHello
ReplyDeleteLoving the little owls, I think you should call them 'Oggle Owl'.
sarahcar7244@hotmail.com
That is a really cute tutorial. Thanks so much!
ReplyDeleteMicki
This comment has been removed by a blog administrator.
ReplyDeleteThanks for sharing your tutorial...I have linked to you on my Freebies blog...hugs Khris
ReplyDeleteJust came across this adorable owl. I don't crochet, but want to learn. this has totally inspired my. Have you come up with a name? I'd call them Hooty. I want to make a few hooties. lol
ReplyDeleteFound it! Thanks :)
ReplyDeleteI have made an adorable little owl all thanks to your tutorial! Thank you very much for it! I definitely plan on making more! Xoxo
ReplyDeleteI love these! I know it's an old post, but I've only just stumbled across it. I've made 3 owls already :) They don't look exactly like yours but I'm a novice! Thanks for the tutorial :)
ReplyDeletehahahah I Love this owl
ReplyDelete